If your event is using tables or teams with a specific number of participants on each team, you may want to customize your table checkout page. This article will walk you through what can be changed and how to do it.
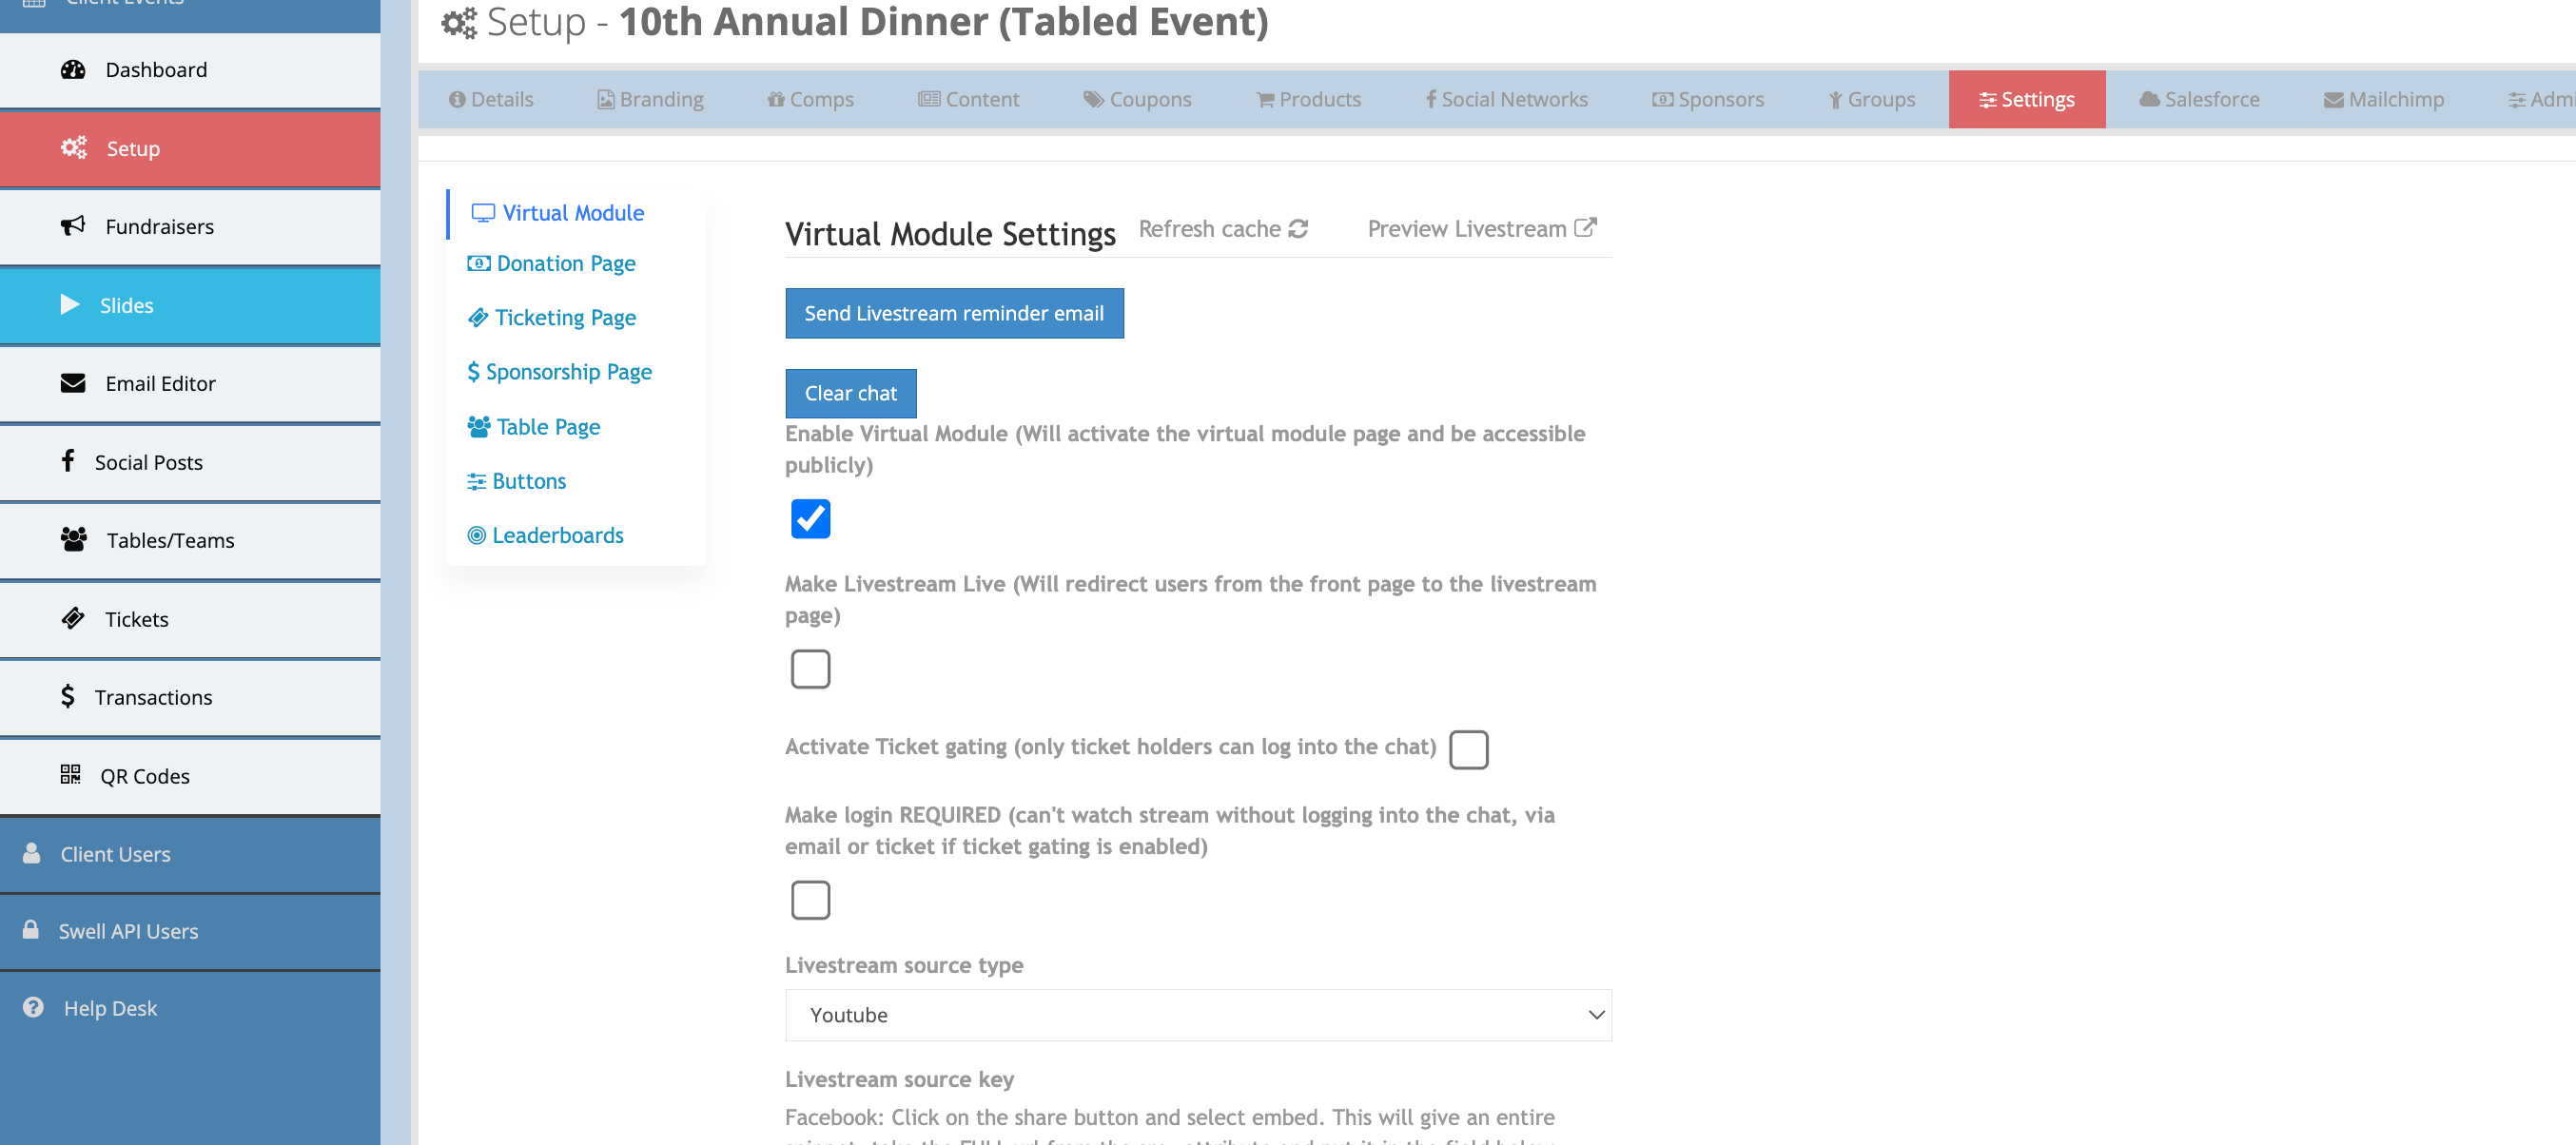
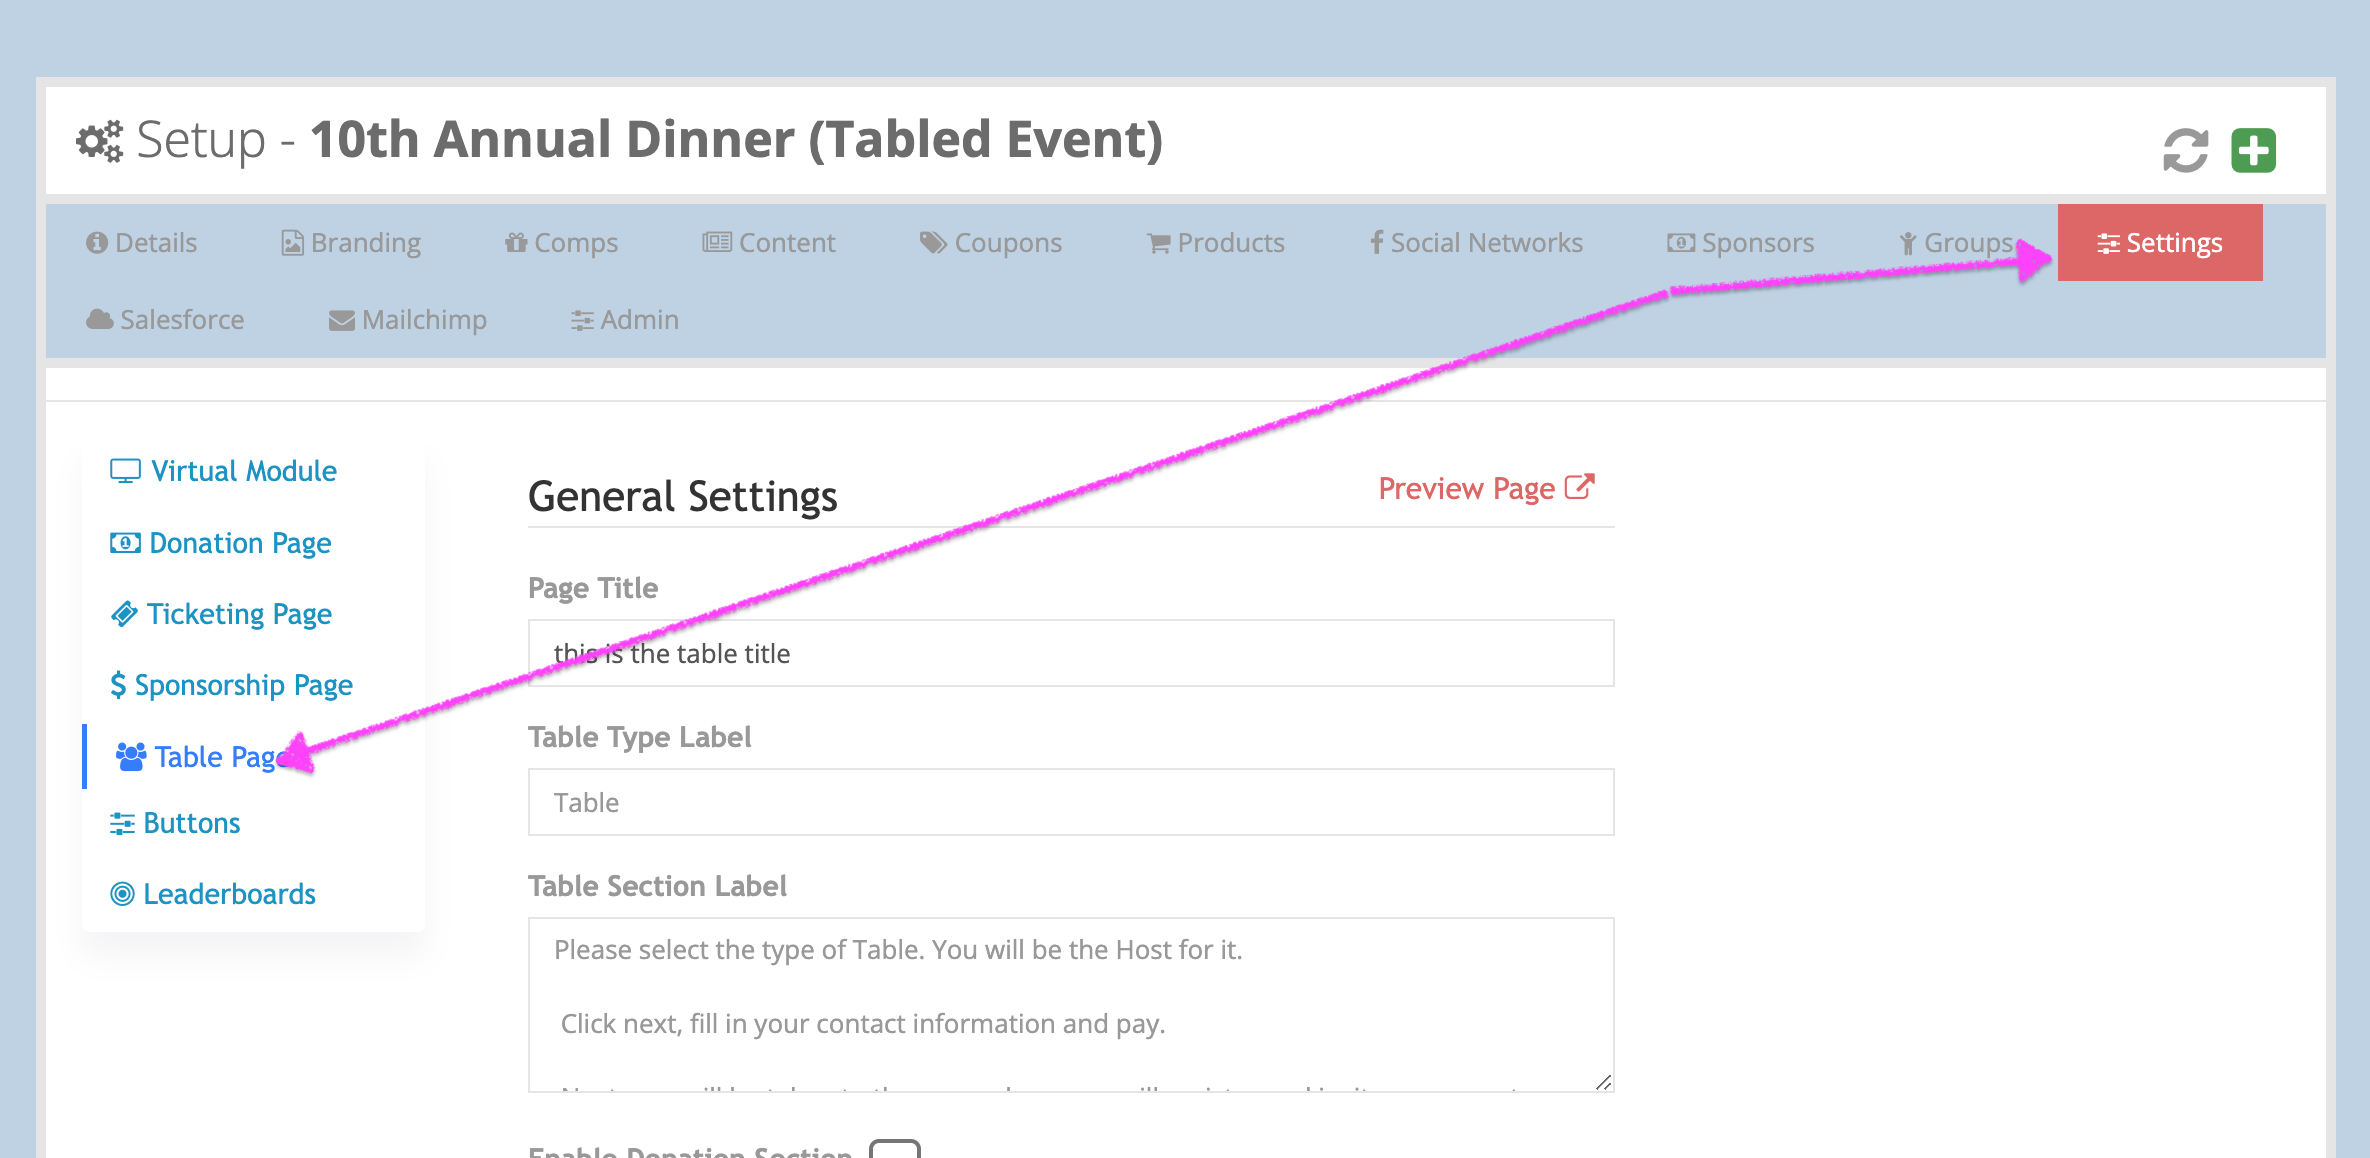
To make changes to the language on your tables/teams checkout page, start by clicking on Setup and Settings.

Select Table Page from the menu on the left.
There are several items you can customize on this page. As always, click the blue save button![]() at the bottom of the screen to save your work if you make any changes. You can also see the changes you've made without loosing your place in the settings tab by clicking the
at the bottom of the screen to save your work if you make any changes. You can also see the changes you've made without loosing your place in the settings tab by clicking the ![]() icon in the upper right-hand corner.
icon in the upper right-hand corner.
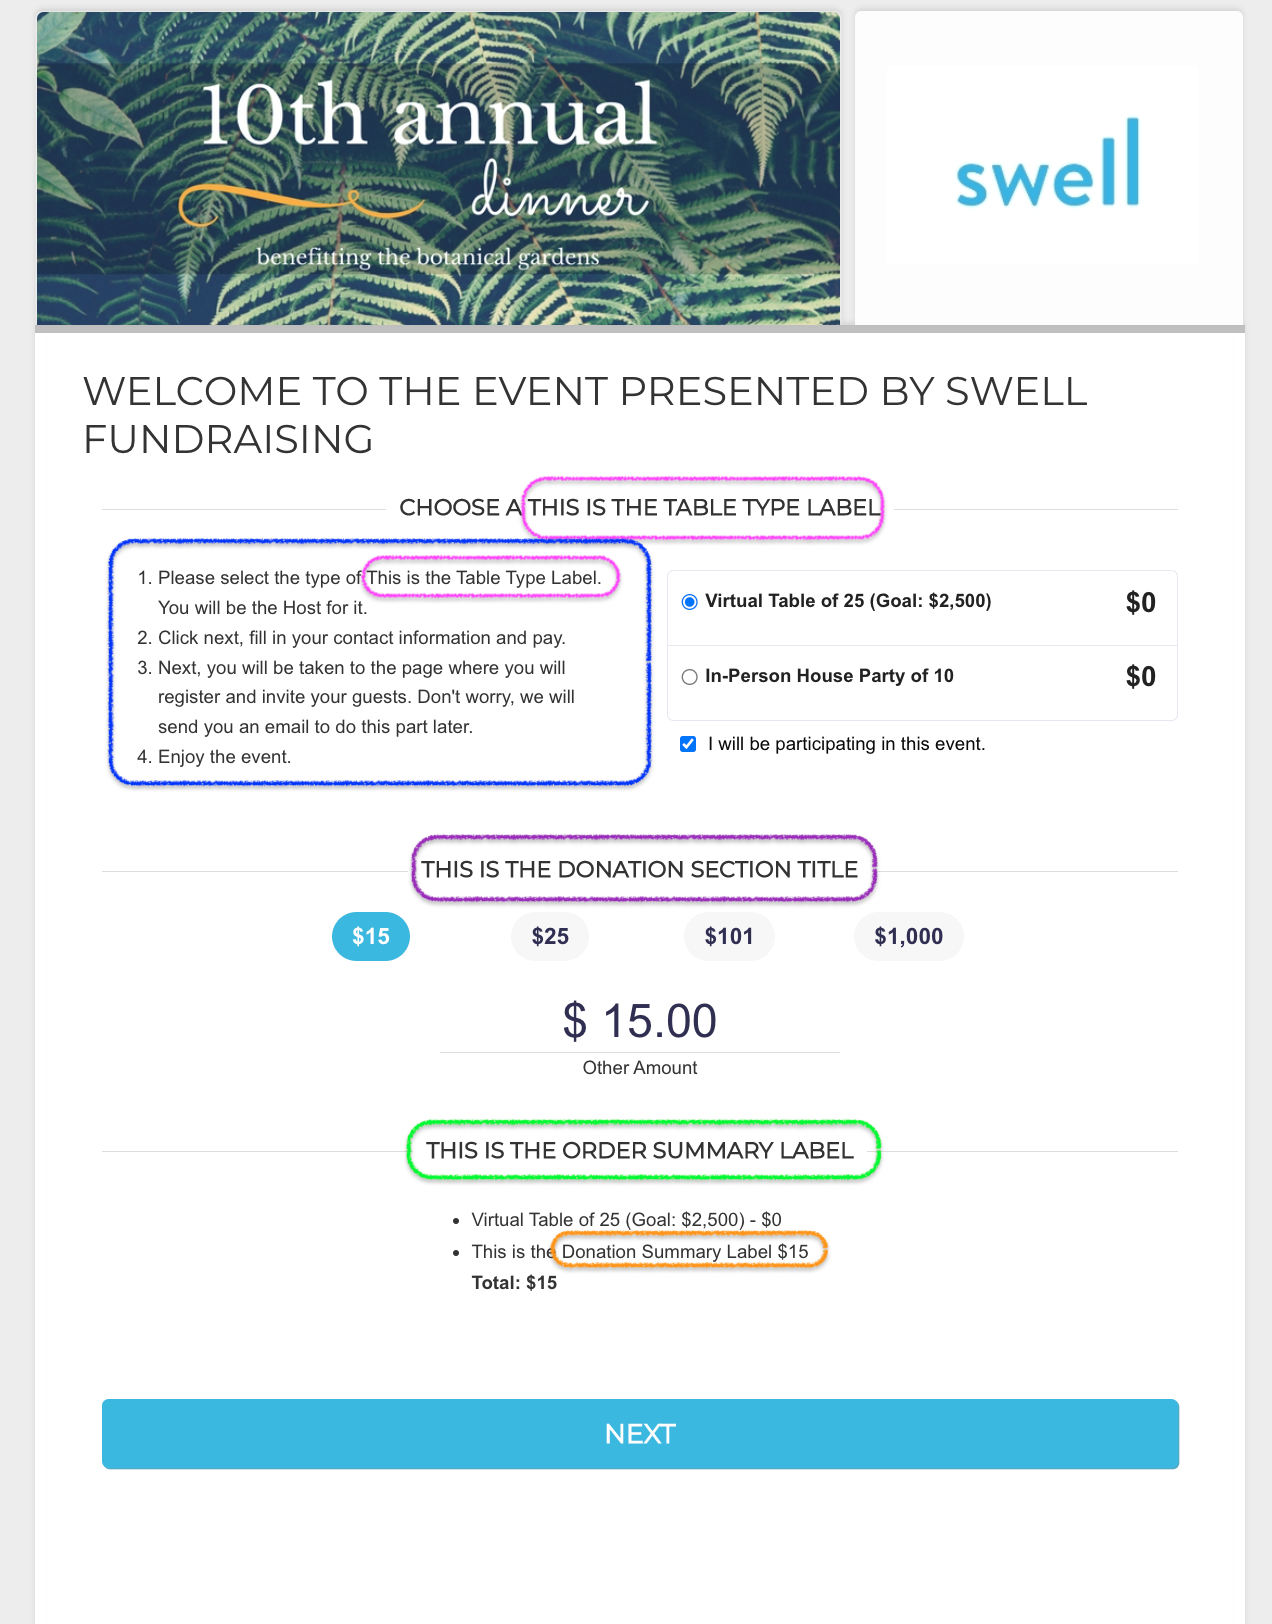
Here's how these settings show up on the front side of your site:

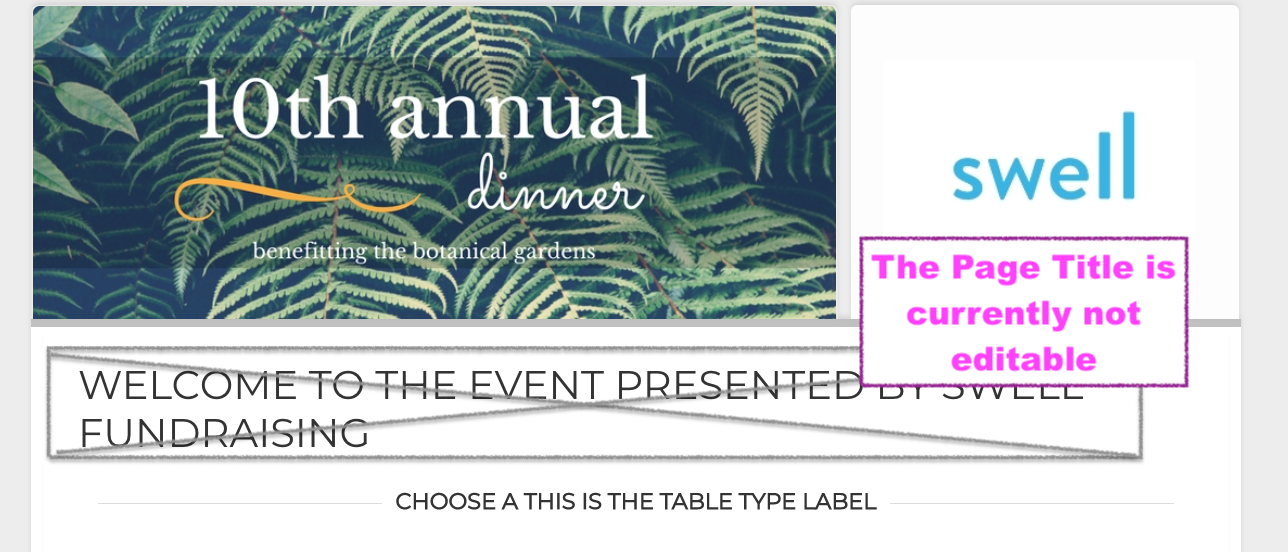
The first blank is the Page Title. Currently, this setting is not editable for the table checkout page, but it will be soon.

The Table Type Label shows in two places on the checkout page. It is outlined in pink in the large image above.
The Table Section Label is outlined in blue above. It is the descriptive text on the left-hand side of the checkout page. The descriptions for each table type on the right-hand side of this page come from the description for the product in Setup-->Products.
For the remaining options to show on the checkout page, the donation section ![]() must be enabled.
must be enabled.
The Donation Section Label is outlined in purple. It separates the tables/teams part of your page and the donation section.
The Order Summary Label is outlined in green and appears just above the checkout page totals.
The Donation Summary Label is outlined in orange. It is the description of the donation line item in the checkout summary.
For more information on the settings menu, CLICK HERE.
Comments
0 comments
Article is closed for comments.